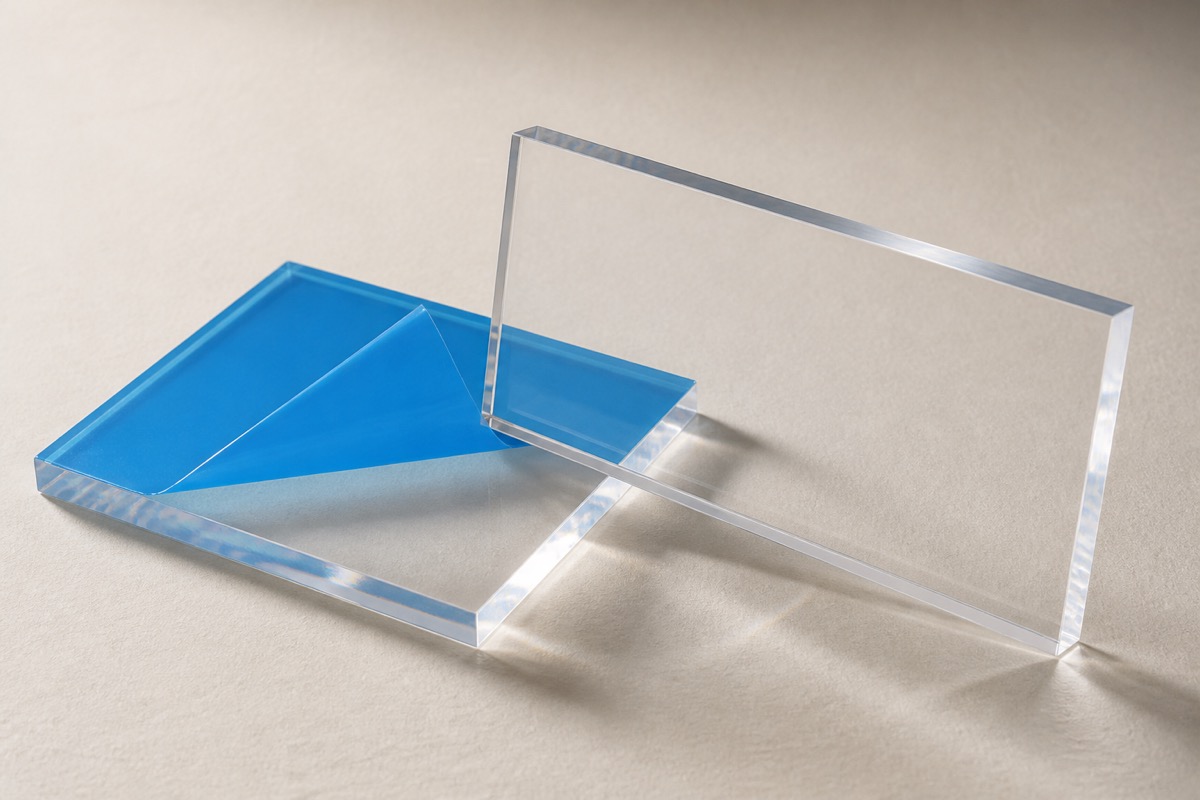
Material pair
Acrylic to Acrylic
Best bet
Water-thin capillary acrylic cement
Draws into tight hairline seams by capillary action, chemically fusing the acrylic sheets into a single piece with crystal clarity and zero bubbles.
Extra prep
- Peel the protective film back only at the joint, make sure both edges are flat and touching along their whole length, and hold the parts square in a jig or with tape while the seam sets.
Not for: Gap or poor fit
Reviewed and adjusted by an editor.
Why this answer
- The only material here where how the joint looks is part of whether it works, because you can see straight through it. Acrylic dissolves in the right solvent, so two clean edges can be welded into a seam that is nearly invisible. The same sensitivity is the hazard: super glue vapour, solvent-based adhesives, and household cleaners all fog or craze the surface with a web of tiny cracks, often nowhere near where you applied them.
- Run into the seam by capillary action, it welds the two edges into one piece and leaves a joint you can see through — the only method that keeps a clear part clear.
- Peel the protective film back only at the joint, make sure both edges are flat and touching along their whole length, and hold the parts square in a jig or with tape while the seam sets.
- Draws into tight hairline seams by capillary action, chemically fusing the acrylic sheets into a single piece with crystal clarity and zero bubbles.
Preparation
Prep both faces the same way
Ensure mating pieces sit perfectly flush along the entire seam line. Wipe with a lint-free microfiber cloth and secure pieces in position with masking tape before applying cement.
Conditions
When the answer changes
For transparent display cases, acrylic boxes, and signage, water-thin solvent cement (such as Weld-On 3) applied via capillary needle applicator creates optically clear, invisible joints. For rougher cuts with minor gaps, medium-bodied acrylic cement (Weld-On 16) or high-clarity 2-part epoxy bridges the hollows.
Alternatives
What else works
Thick syrup consistency bridges slight gaps and irregularities on rougher cuts while still chemical welding.
Better when: Gap or poor fit
High-clarity gap-filling epoxy for non-mating acrylic components or when solvent welding might craze stressed plastic.
Better when: Gap or poor fit
It bonds acrylic quickly, but the vapour blooms white across the surrounding surface and the cured joint can craze the sheet — acceptable on a hidden fixing, not on anything you look through.
The fallback when the part flexes or gets wet; it seals rather than carries load.
Better when: Flexing or movement, Water immersion
For large panels like PVC trim, where a bead along the back is the point.
Waterproof and tough on scuffed rigid plastic, but it needs real clamping and the foam squeeze-out has to be trimmed.
Better when: Outdoor exposure, Water immersion
Only when the other side is cloth: flexible enough for a fabric-to-plastic seam, far too weak for a structural one.
Avoid
What not to use
Avoid
Contact cement
Contact cement — its solvent attacks acrylic on contact, leaving a cloudy, crazed patch that no amount of polishing brings back.
Avoid
Spray adhesive
Spray adhesive — a repositionable film, not a bond; it slides off smooth plastic under any load.
Avoid
Wood glue (PVA)
Wood glue — plastic has no pores for it to soak into, so it peels off in a sheet.
Products
Products for this joint
- Weld-On 3 Acrylic Solvent CementWater-thin capillary solvent welding for cast and extruded acrylic (Plexiglas, Lucite) display cases, boxes, and signage — draws rapidly into tight hairline seams to create optically clear, high-strength chemical bonds.
- Oatey Regular Clear PVC CementJoining rigid PVC pipe, conduit, and fittings up to 4 inches — the default solvent weld for plumbing drain, waste, vent, and potable water lines.
- Weld-On 16Fast-curing solvent welding for cast and extruded acrylic (Plexiglas/Lucite), display cases, signs, models, and rigid plastic fabrication.
Questions
Common questions
- How does the capillary action method work with acrylic solvent cement?
- Assemble and tape the dry acrylic pieces into their final position first with tight, flush contact. Place a hypodermic needle applicator filled with water-thin solvent cement (Weld-On 3) against the seam and gently squeeze. Surface tension automatically draws the fluid deep into the joint line, softening and fusing the acrylic in seconds.
- Why should super glue be avoided on clear acrylic display boxes?
- Cyanoacrylate (super glue) gives off airborne monomers that react with ambient humidity and deposit as permanent white powdery haze (blooming/frosting) across the glass-like acrylic face. It can also cause micro-fissures (crazing) on laser-cut edges.
- How do I prevent crazing (spiderweb cracks) when gluing acrylic?
- Crazing happens when solvent attacks internal stress points created by laser cutting or excessive saw friction. Always scrape or flame-polish cut edges lightly, allow laser-cut pieces to anneal/cool, and avoid applying excessive clamping pressure while the solvent cement cures.
- What is the practical difference between Weld-On 3 and Weld-On 16?
- Weld-On 3 is water-thin and must be applied via needle bottle to pre-assembled flush joints; it leaves zero visible residue and dries in minutes. Weld-On 16 is a thick, syrupy acrylic cement dispensed from a squeeze tube that fills minor gaps and irregular cut edges.