All articles
Guide
Reseal a kitchen sink to the countertop
Use 100% Kitchen & bath silicone for this repair. Stays permanently rubbery, bridges thermal expansion between metal/stone/ceramic, and resists standing water without mold growth.
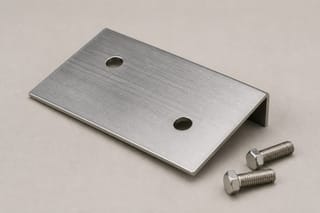

This task involves: Water immersion, Food contact
Best Glue for This Repair
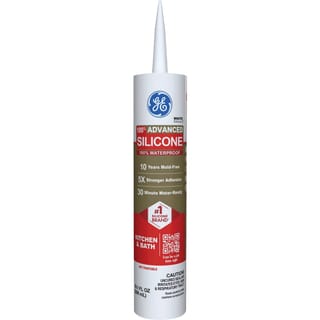
Stays permanently rubbery, bridges thermal expansion between metal/stone/ceramic, and resists standing water without mold growth.
Not for: Load-bearing / shear
Reviewed and adjusted by an editor.
Why 100% Kitchen & bath silicone Works Here
- The passive chromium-oxide film is stable enough to bond, but fingerprints, polish, and a mirror finish leave little for adhesive to grip. Degrease, abrade to an even satin scratch, clean again, and keep fingers off the prepared face.
- A clean break fits back like a puzzle with almost no gap — ideal for thin glue lines. Unglazed faces are porous; glazed faces are not.
- Sticks well to clean metal and stays flexible and waterproof — a sealant around metal, not a joint that carries weight.
- It seals rather than joins: right where a ceramic fixture meets a wet surface, wrong for a break that has to hold together.
- Stays permanently rubbery, bridges thermal expansion between metal/stone/ceramic, and resists standing water without mold growth.
How to do it
Reseal a kitchen sink to the countertop: Step by Step
- Scrape away 100 % of the old, cracked, or blackened caulk using a razor scraper or caulk removal blade.
- Wipe the joint gap thoroughly with rubbing alcohol or mineral spirits to remove soap scum, and allow it to dry completely.
- Apply painter's masking tape along both the sink flange and the countertop surface, leaving a neat 1/4-inch gap for the bead.
- Cut the nozzle at a 45-degree angle and gun a continuous, uniform bead of 100 % kitchen and bath silicone into the joint.
- Smooth the bead immediately with a caulk profiling tool, peel the painter's tape while still wet, and allow 24 hours to cure before use.
Conditions
When to Use a Different Glue
Always choose 100 % neutral-cure kitchen & bath silicone with mold inhibitors. Acrylic latex or siliconized caulk shrinks, breaks down in standing water, and turns black with mildew.
Articles
Why This Repair Works This Way
Questions
Common Questions About This Repair
- Why must all old silicone be completely scraped away first?
- Nothing adheres to cured silicone, including fresh silicone. Applying new caulk over old residue creates a weak interface that peels off within weeks, letting water leak under the countertop to rot cabinet subfloors.
- Why avoid acrylic latex caulk around kitchen sinks?
- Acrylic latex is water-based and shrinks substantially as it dries, leaving thin gaps. Standing pool water dissolves the latex matrix and promotes aggressive black mold growth. Only 100 % RTV silicone stays flexible and completely waterproof.
- How long should I wait before running water in the sink?
- Even if a silicone label claims 'water-ready in 30 minutes,' waiting a full 24 hours is best practice. It ensures the deep core has cured completely before being subjected to hot water, grease, and dish soap.
- Can silicone hold an undermount sink without clips?
- No. Silicone functions strictly as a watertight gasket, not a structural anchor. The heavy weight of a filled sink must always be supported by mechanical undermount brackets, epoxy anchors, or timber cradle framing underneath.